How to Create a Wallet on Coinremitter?
Creating a wallet is mandatory to accept payment in crypto with CoinRemitter. Below is the step-by-step guide to creating a wallet on our crypto payment gateway.
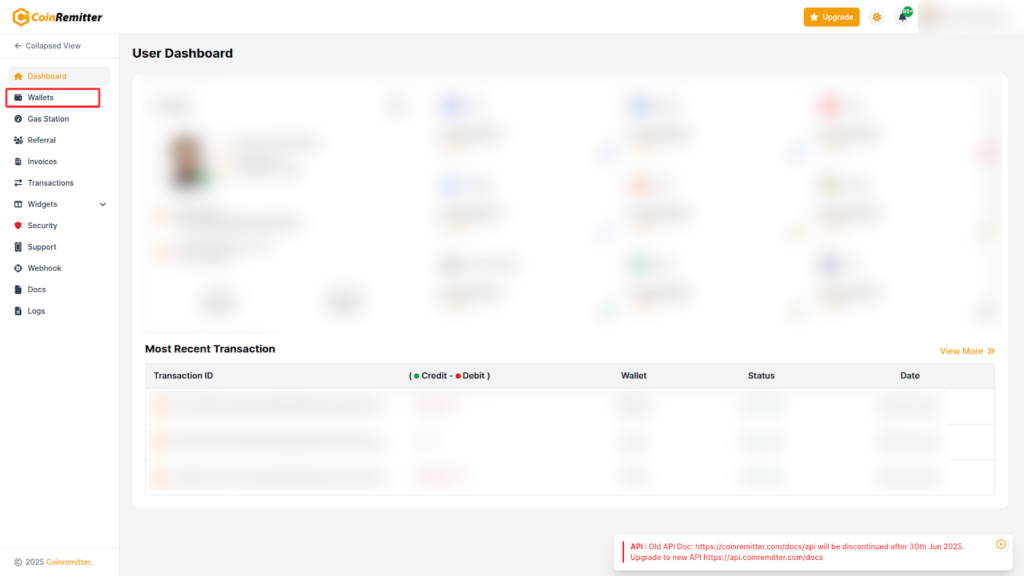
- Log in to your CoinRemitter account and click ‘Wallets’ from the left panel of the Dashboard.
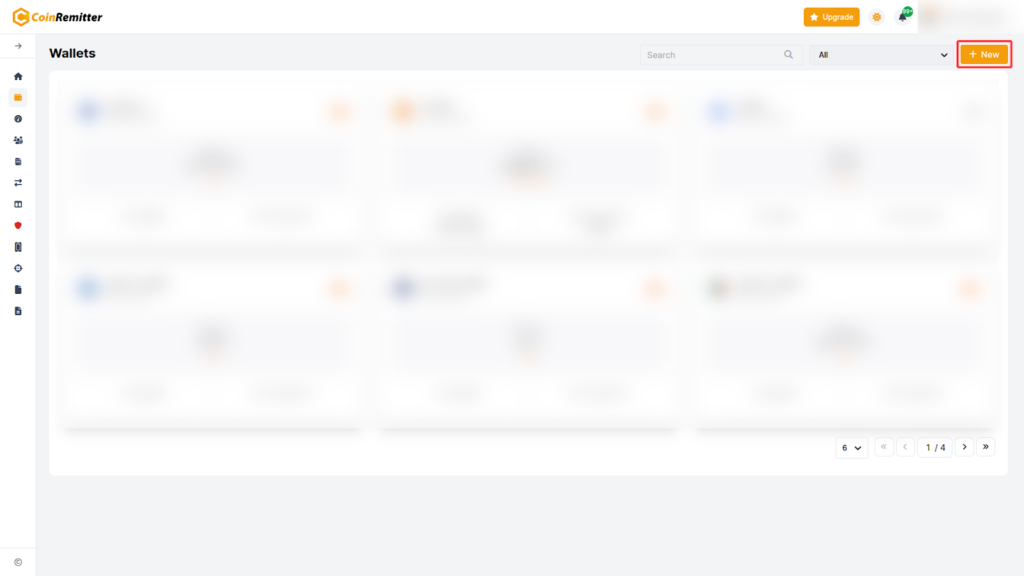
- Click the ‘+New’ button in the upper right corner of the screen. This will take you to the ‘Create New Wallet’ page.
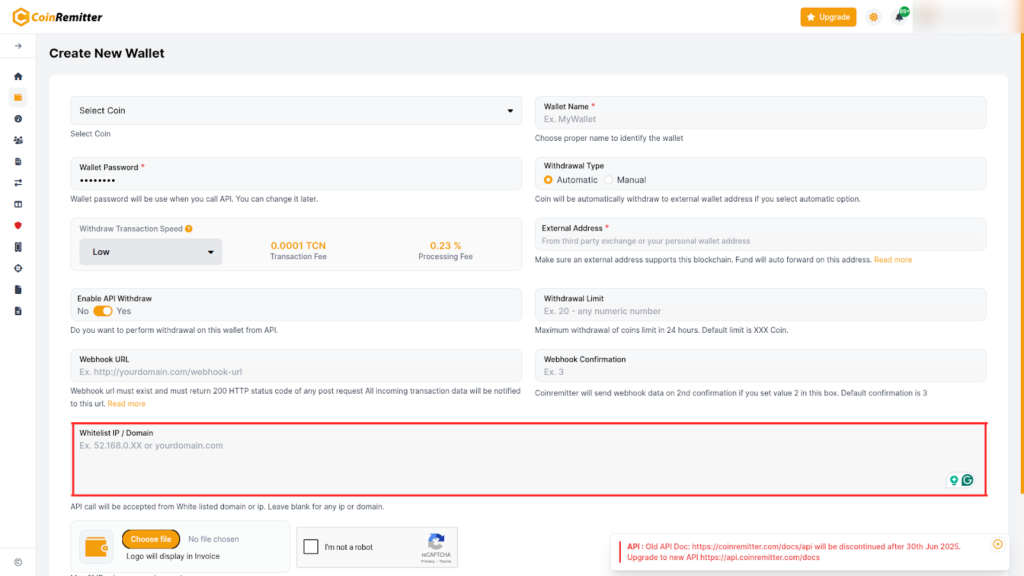
- First, select the coin (cryptocurrency) for which you want to create a wallet.
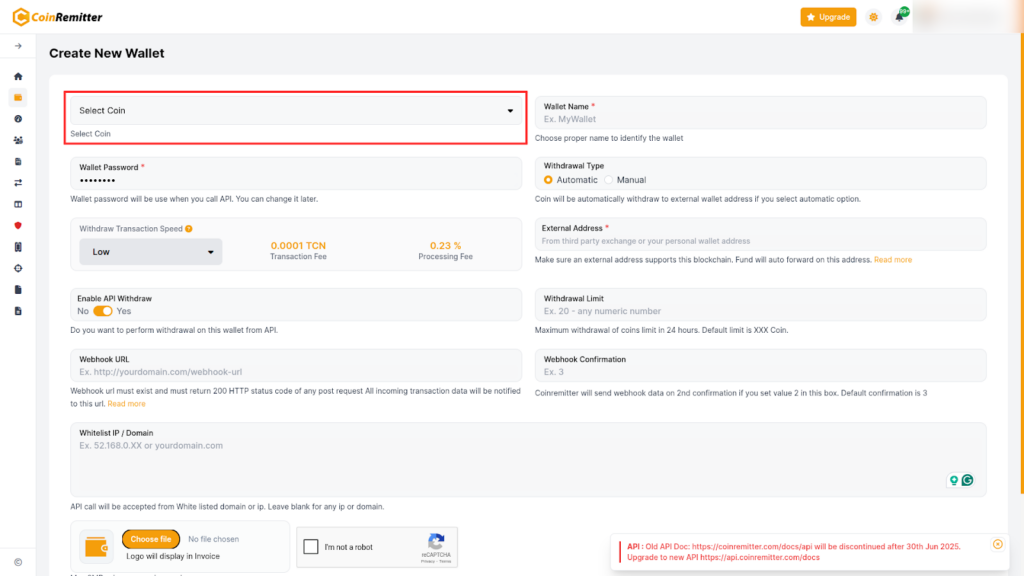
- Set a name for your wallet; it will be displayed on the main ‘Wallets’ screen, so you can easily identify it.

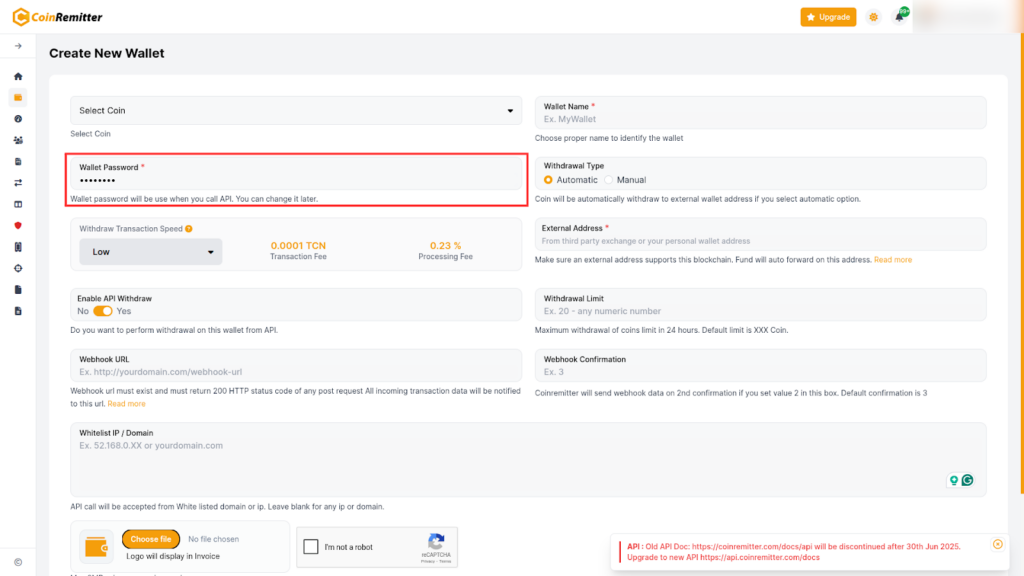
- Set a wallet password. You can use it to make API calls.
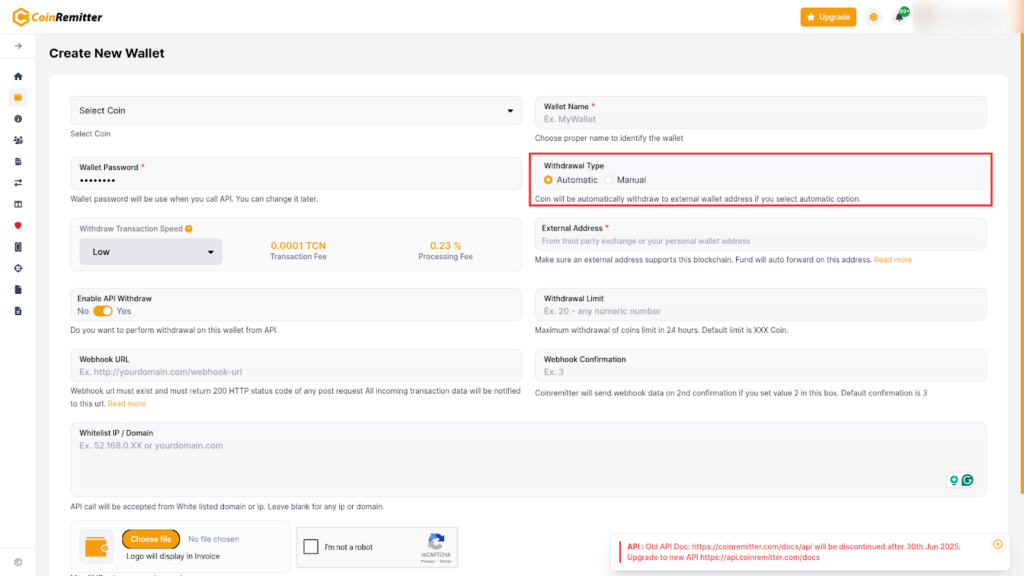
- Choose your preferred withdrawal type from ‘Automatic’ or ‘Manual’. The default withdrawal type is ‘Automatic’, which transfers your funds to your external wallet every 30 minutes.
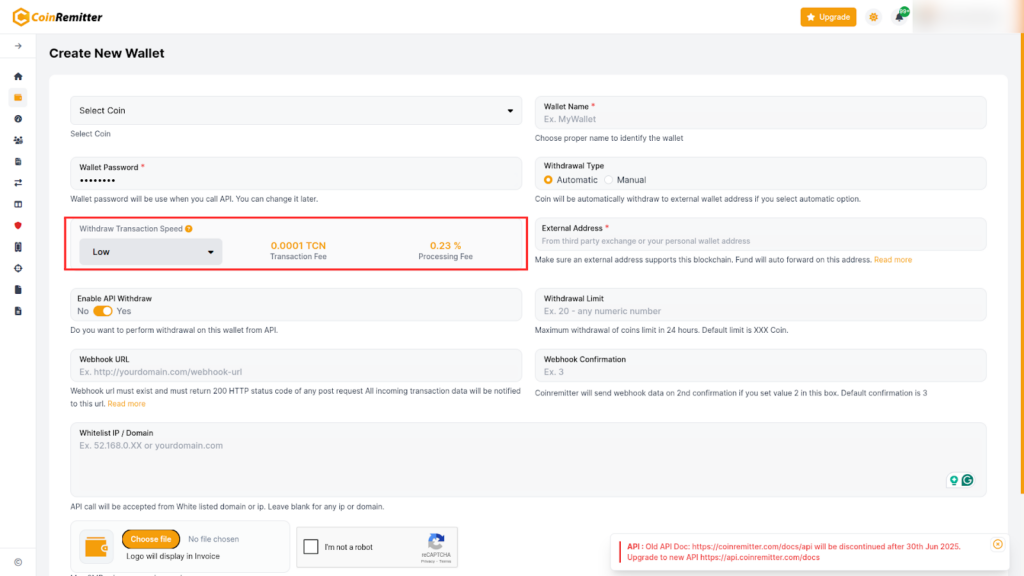
- Choose your preferred withdrawal speed from ‘Low’, ‘Medium’, or ‘High’. The default withdrawal speed is set to low. You can opt for a higher speed, but you will have to pay higher withdrawal fees.
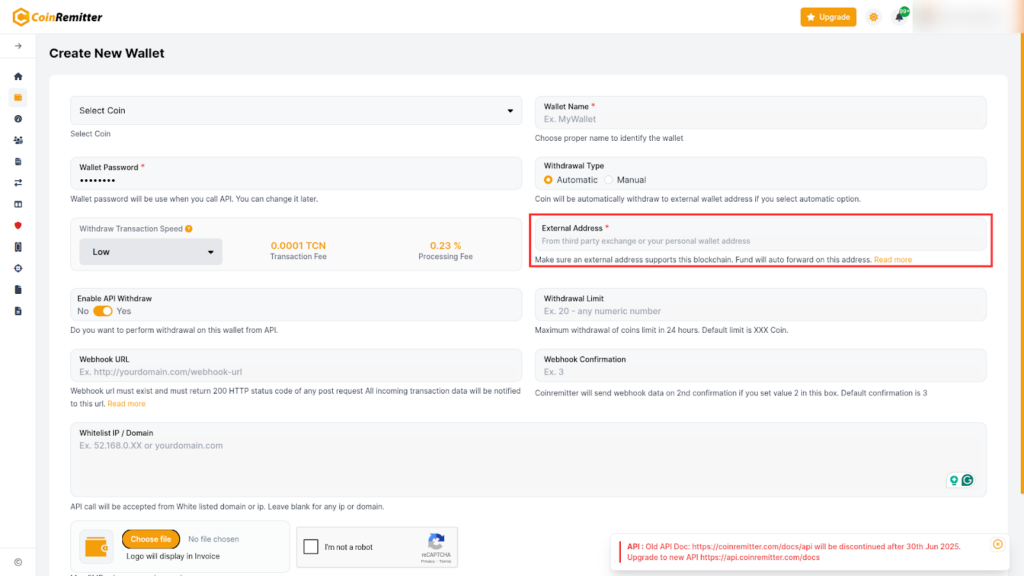
- Enter a valid external wallet address for withdrawing your crypto assets.
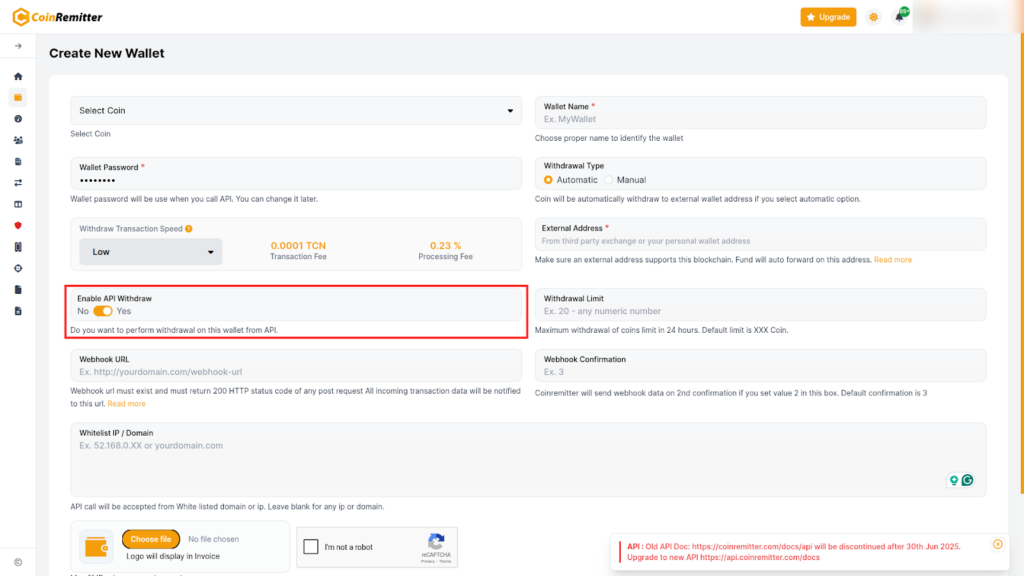
- After this, you can choose whether you want to enable or disable API withdrawals. Enabling this feature will let you make withdrawals from the crypto API docs.
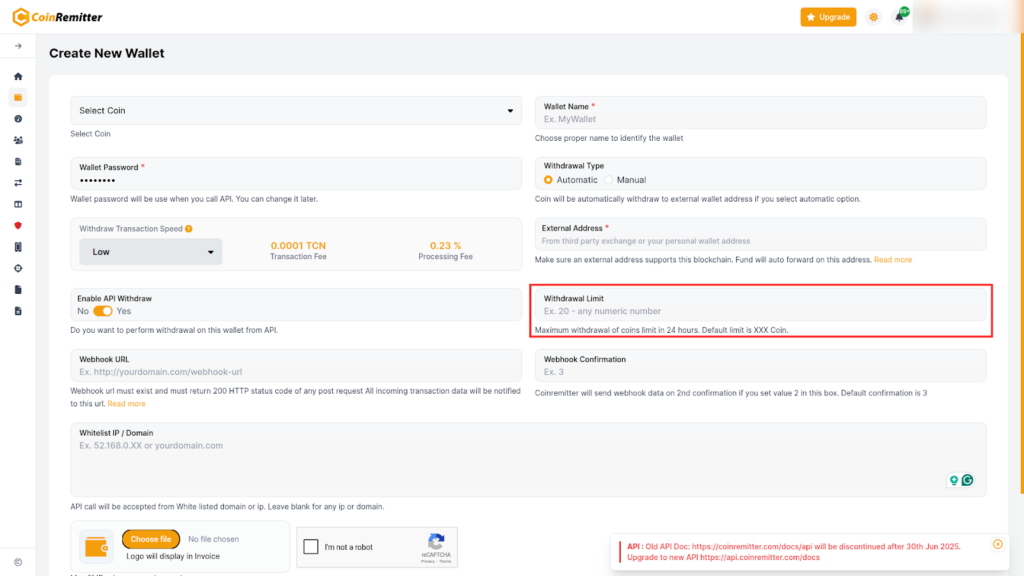
- Set a maximum daily withdrawal limit. Funds higher than the entered limit will not be withdrawn on the same day.
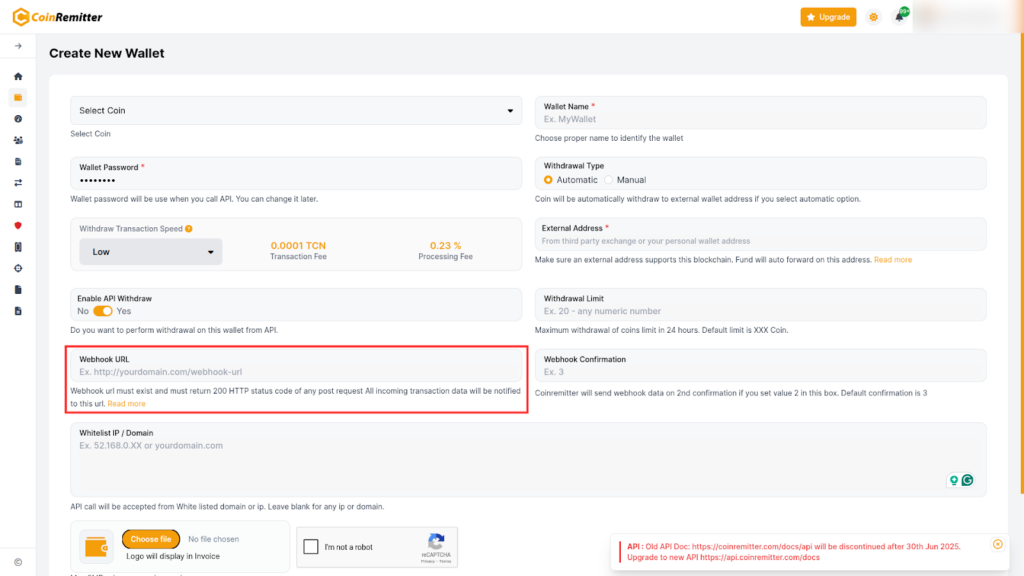
- Enter a valid webhook URL that returns a 200 HTTP status code. All payment data (Deposit / Withdrawal ) of this wallet address will be sent to that Webhook URL.
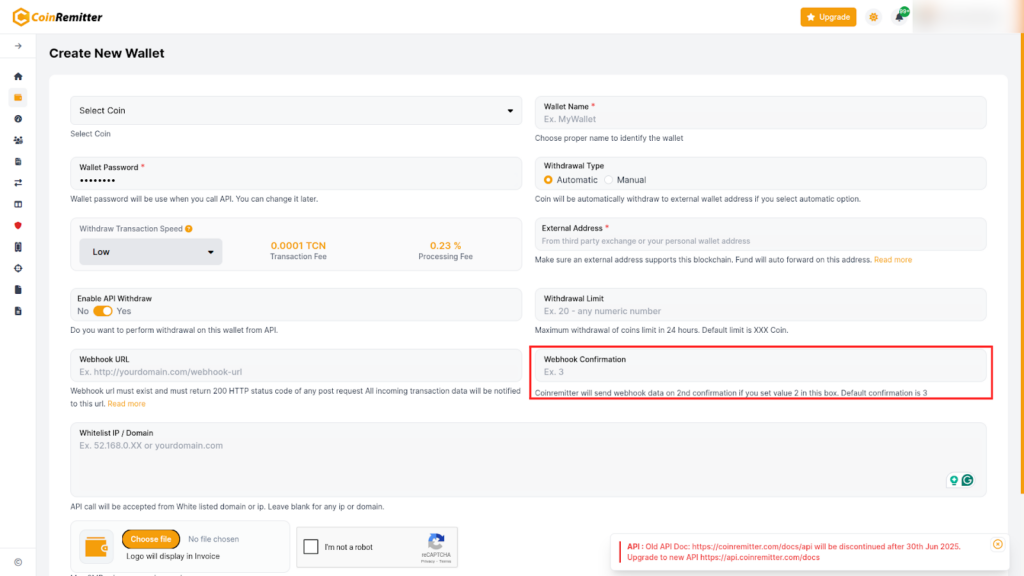
- Enter the number of Webhook Confirmations. Webhook data will be sent after the number of confirmations entered here. For example, the default value is 3, so the data will be sent after three confirmations.
- In the Whitelist IP/Domain field, you can enter an IP or a domain. This will whitelist them, and API calls will only be accepted from them.
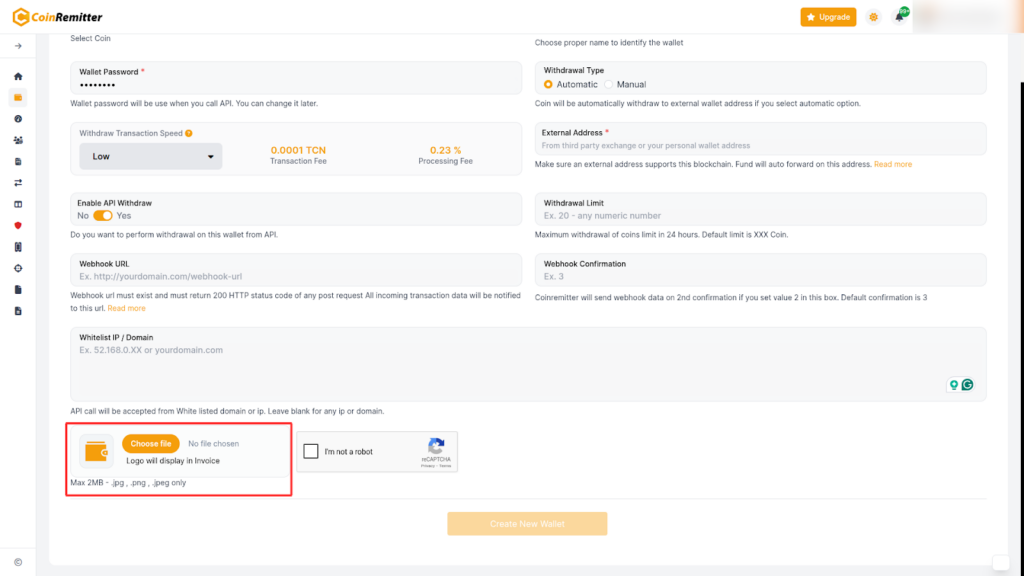
- Upload your brand’s logo in a JPG or PNG file. This logo will be displayed on the invoice.
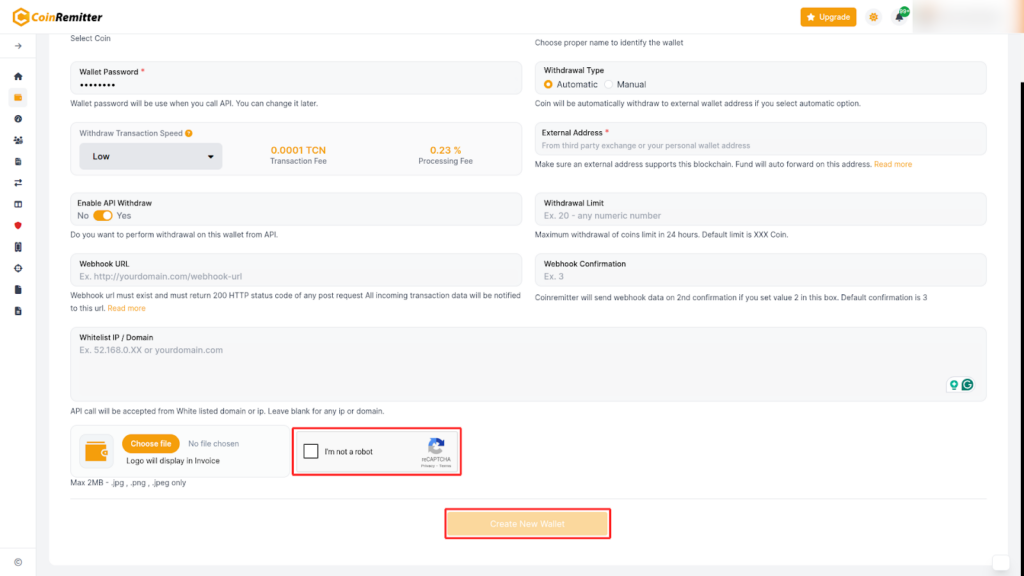
- Double-check all the details submitted by you, and make necessary corrections if required.
- Complete the captcha verification, and click the ‘Create New Wallet’ button.
Now, you have successfully created your CoinRemitter wallet.
FAQs
Are all the fields mandatory?
No, some fields are optional. Only those marked with the red star (*) are mandatory.
What is the difference between internal and external wallets?
Internal (or CoinRemitter) wallets are operational within CoinRemitter’s ecosystem, while external wallets are third-party wallets that operate outside it.
Can I create multiple wallets for the same cryptocurrency?
Yes, you can create up to 5 wallets for the same cryptocurrency.
How many addresses are allowed per wallet?
With the free plan, you can generate up to 500 addresses per wallet. However, to generate unlimited addresses per wallet, you can purchase CoinRemitter’s premium plan.
How can I enable manual withdrawals?
You can purchase the premium membership and change the withdrawal type to ‘Manual’ from the wallet settings to enable manual withdrawals.
Recent News


Over 38,000 merchants are using CoinRemitter
Join them now