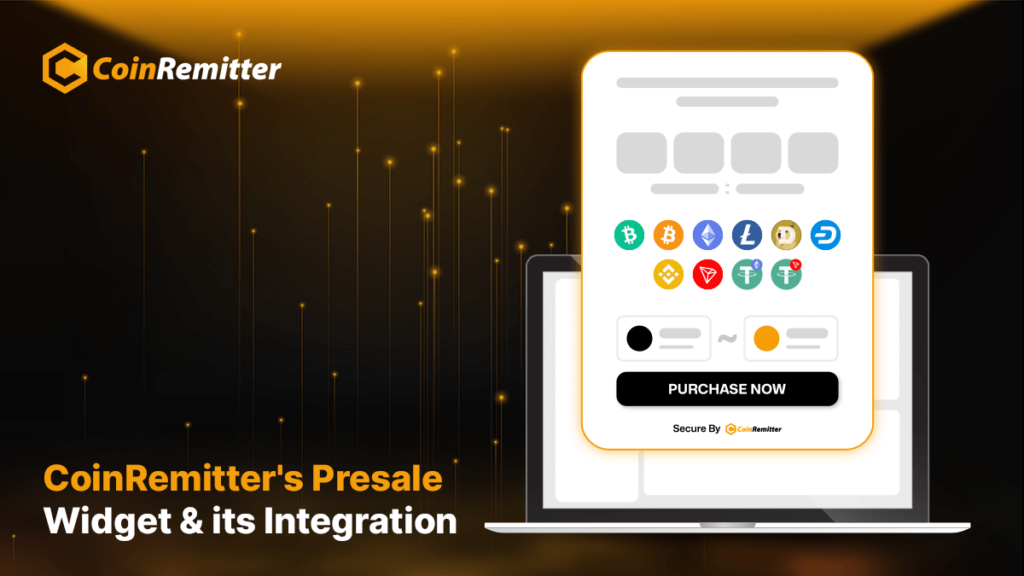
CoinRemitter’s Presale Widget
The Presale Widget by CoinRemitter is an exclusive and embeddable tool that lets crypto project owners create a widget for their crypto presales or ICOs. These widgets come with the crypto payment functionality so project owners can accept payment in crypto for token presales. The best part of this feature is that it does not require coding knowledge to create and integrate a widget. You can create a widget and accept crypto payments for your token presale. Then, the entire payment process is handled by our crypto payment processor for your ease.
How to Integrate CoinRemitter’s Presale Widget into Your Website?
- Log in to your CoinRemitter account.
- Go to Dashboard, then click Widgets > New.
- Click ‘Create Presale Widget’ to start creating a widget.
- Under the ‘Token’ tab, fill in the required information about the token.
- If you have already created a wallet, then select a wallet from the ‘Link a Wallet’ dropdown field. If you haven’t, then follow this guide to create a wallet then link it to the widget. Select a fiat currency to display the token price, and click ‘Save & Continue’.
- Set up a token distribution round under the ‘Distribution’ tab. You can also add pricing strategies to create FOMO and increase fundraising. You can add up to four token distribution rounds. Then click ‘Save & Continue’.
- Personalize the widget appearance under the ‘Customization’ tab. You can set a title, layout, width, background color, primary color, text color, and thank-you message. Everything added here will be displayed when the widget goes live. Check the widget preview and click ‘Save & Continue’.
- Under the ‘Settings’ tab, set up custom input fields. They will allow token buyers to add information before making a purchase. Here, the ‘Email Address’ field is mandatory, the rest are optional. You can also fill in Target Element, Callback URL, Success URL, and Whitelist IP/Domain according to your project requirements.
- Target Element: You can add the element ID of your website where you want to publish this ICO presale widget.
- Callback URL: The transaction data of a particular widget will be sent to the URL entered here. Click here to view the sample callback data for a presale widget.
- Success URL: After a successful payment, customers will be redirected to this URL.
- Whitelist IP/Domain: Any domain or IP address here will be considered whitelisted, and the widget will load only on these domains or IPs.
- Click ‘Publish’.
- Get the JavaScript code and integrate it into your official crypto website as shown in the integration steps on the Integrate tab page.
Benefits of the Presale Widget Feature
- Easy-to-use solution with no coding skills required. Anyone with a concept can easily create an interactive and functional widget using this tool.
- Just like creating a widget, customizing it after publishing is quite easy and doesn’t require coding skills.
- You can enable crypto presale token buyers to pay with their preferred cryptocurrency by adding multi-crypto support through multiple wallets.
- Statistical analysis can help them make informed decisions about the token by analyzing customers’ behavior.
- CoinRemitter’s exclusive benefits: When you accept payment in crypto through our crypto gateway, you automatically unlock all the exclusive benefits of CoinRemitter. Some of them are as follows:
- 0.23% processing fee, the lowest in the crypto payment processor market
- Zero lost funds and almost no downtime
- No KYC and no bank account required
- Express technical support
- Easy-to-use payment gateway for cryptocurrency.
- Defense-grade security features
- Transaction fee reduction for BNB, ETH, and USDT with the Gas Station
- Referral bonus through the affiliate program

