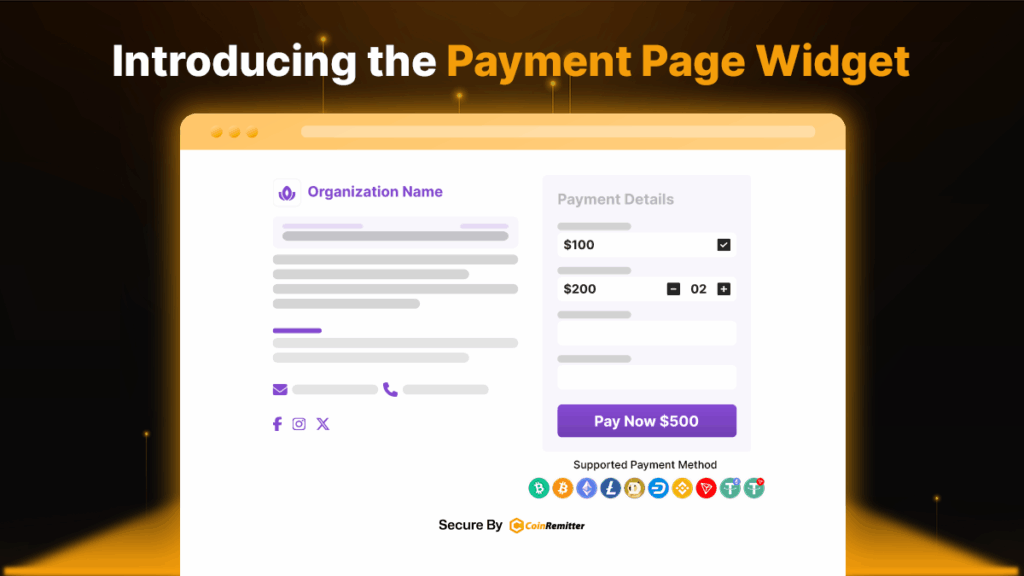
CoinRemitter’s Payment Page Widget is a simple and useful crypto payment solution that helps business owners build a functional page to accept payment in crypto. The Payment Page Widget doesn’t require any coding skills, and you can build a working crypto checkout page in a few clicks. The Payment Page Widget is perfect for online sellers, service providers, and NGOs. In this article, we’ll go through a guide to using it for accepting cryptocurrency payments.
How to Use the Payment Page Widget to Accept Crypto Payments?
- Sign up for CoinRemitter without KYC or log in to your account.
- Go to the Dashboard, then click Widgets > New > Payment Page Widget.
- Set the widget name, page logo, and page title to start creating the payment page.
- Set the primary color from ‘Style’ to match the page with your brand identity.
- Enter the ‘Page Description’ and ‘Terms & Conditions’ to keep visitors informed.
- Set up to 10 Price Fields, including pricing according to your business requirements.
- Fixed Amount: Add this field if you want to accept crypto payments for services or products.
- Customer Decide Amount: Add this field if you are creating a payment page to collect donations in crypto.
- Item With Quantity: Add this field if you are creating a payment page to sell products with quantity (in numbers or measurements).
- Set Custom Input Fields to let your customers enter their details while making payments.
- Set button appearance and details.
- Click ‘+’ under the Supported Payment Method label to connect cryptocurrency wallets. Payments will be deposited into wallets linked here. (Note: You can add multiple wallets, but all of them must be of different currencies. Multiple wallets of the same currency aren’t allowed.)
- Click ‘Publish’.
- After clicking ‘Publish’, our cryptocurrency payment gateway will provide a link to the payment page. You can share it with your customers to request payments or donations in crypto.
Additional (and Optional) Features of the Payment Page Widget
- Goal Tracker: If you have a goal in mind and you wish to show it to your customers, then you can use the Goal Tracker.
- Amount Goal: To display a progress bar for raised funds.
- Support Goal: To display a progress bar for sold tickets, units, etc.
- Add Contact Us: Display your contact details here to help your customers easily reach out to you.
- Add Social Media Share Icons: Help customers or donors share your payment page to different social media platforms in a few clicks.
- Optional Custom Input Fields:
- One Line Text: To let customers enter the first line of the address.
- Multi Line Text: To let customers enter a multi-line address.
- Number: To allow customers to enter numeric information, such as block numbers and zip codes.
- Radio Button: To let customers choose one option from the available ones.
- Check Box: To let customers choose multiple options.
- Select Option: To add a dropdown menu.
- URL: To let customers add a link to any web page.
- Date Picker: To let customers pick a date from the calendar.
- Settings:
- Page Expiry Date & Time: Set validity for your payment page.
- Send Customer an Email Receipt: If you check this box, your customer will receive a payment receipt via email for successful or overpaid transactions.
- Statistical Analysis: Add your Facebook Pixel ID or Google Analytics Tracking ID to track metrics like page views and payment status.
- Callback URL: The transaction data of a particular payment page will be sent to the entered callback URL.
Success URL: After a successful payment, you can redirect your customers to the URL entered here.

