

Coinremitter allows users to create an Invoice on our gateway and it can be simply sent to buyers’ email IDs.
Here are some steps or guidelines about how to create an Invoice with easy steps.
1) First login yourself on coinremitter.
2) When you come to the dashboard you will see the option of Invoice at the left side of the bar. Click on that.
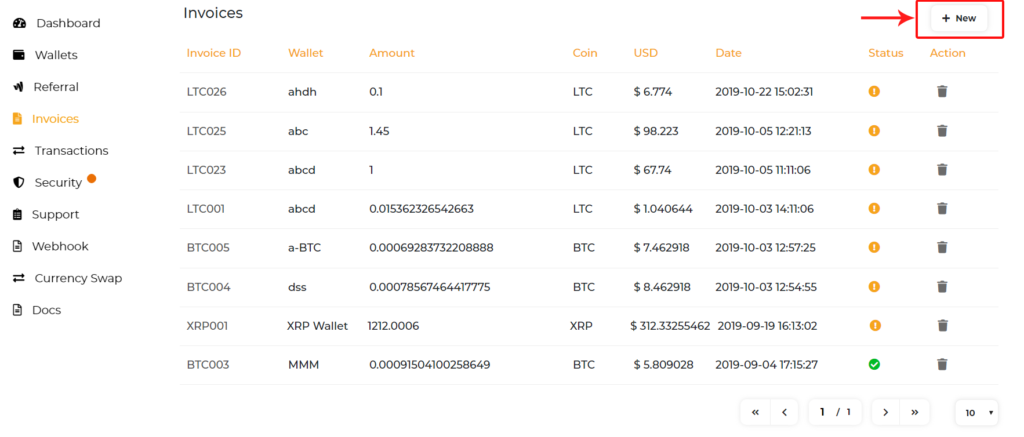
3) After clicking it, the Invoice page will pop up which will look like this. Moreover, on the right side on the top you will see the New option moreover, you must click on It In order to create an Invoice.

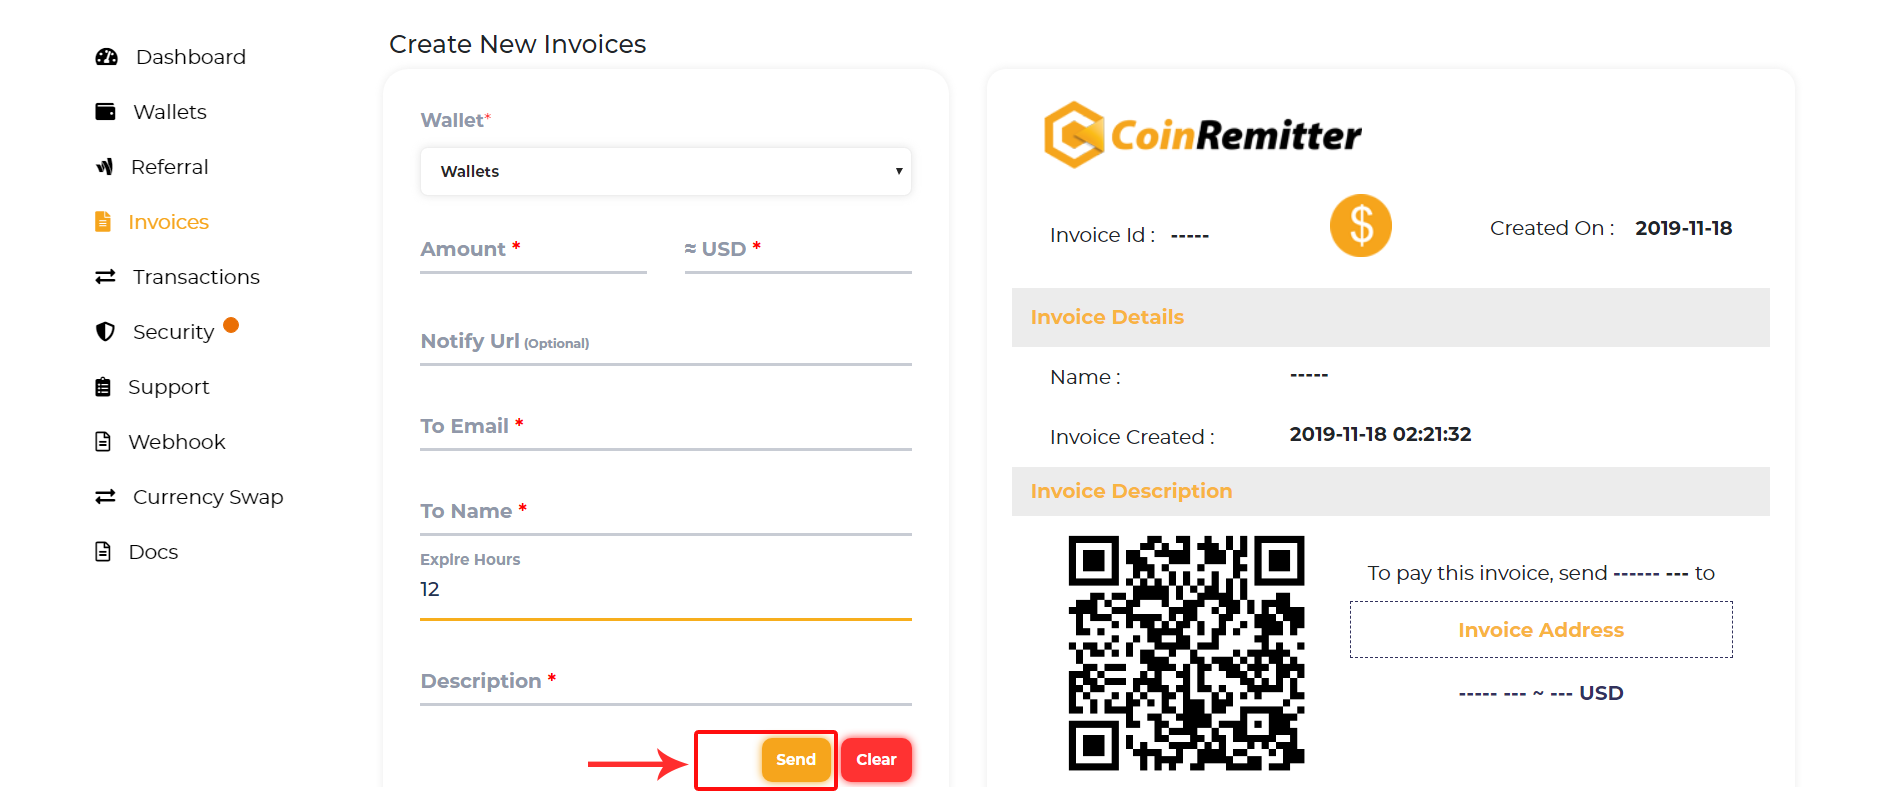
4) When you click on the new option, the New page will pop up on the screen with the name of Create New Invoices.
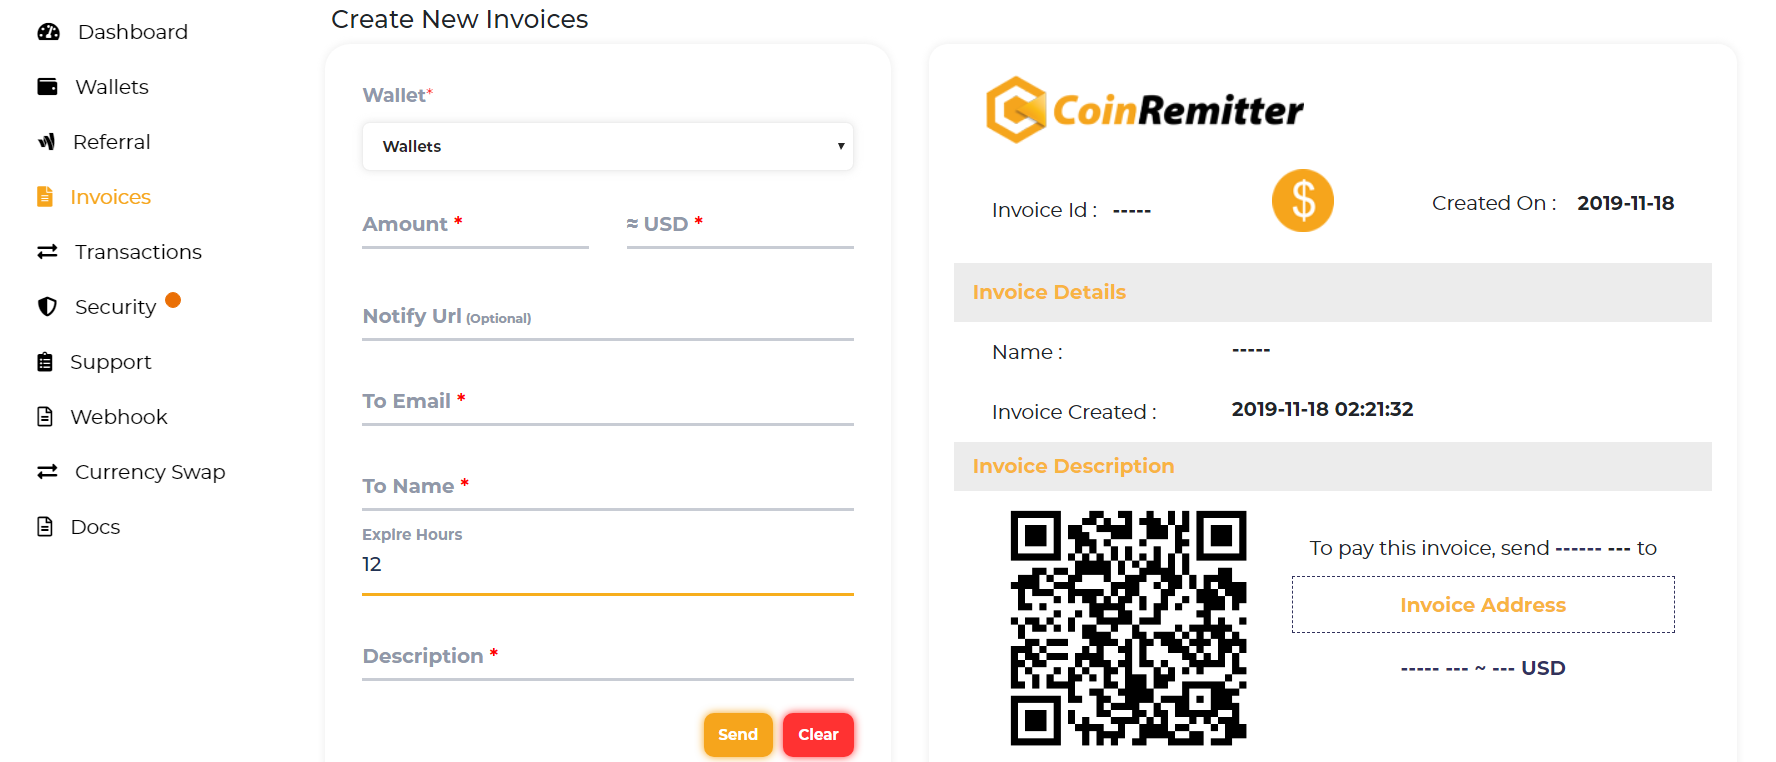

5) The box depicts several of the information users have to fill In.
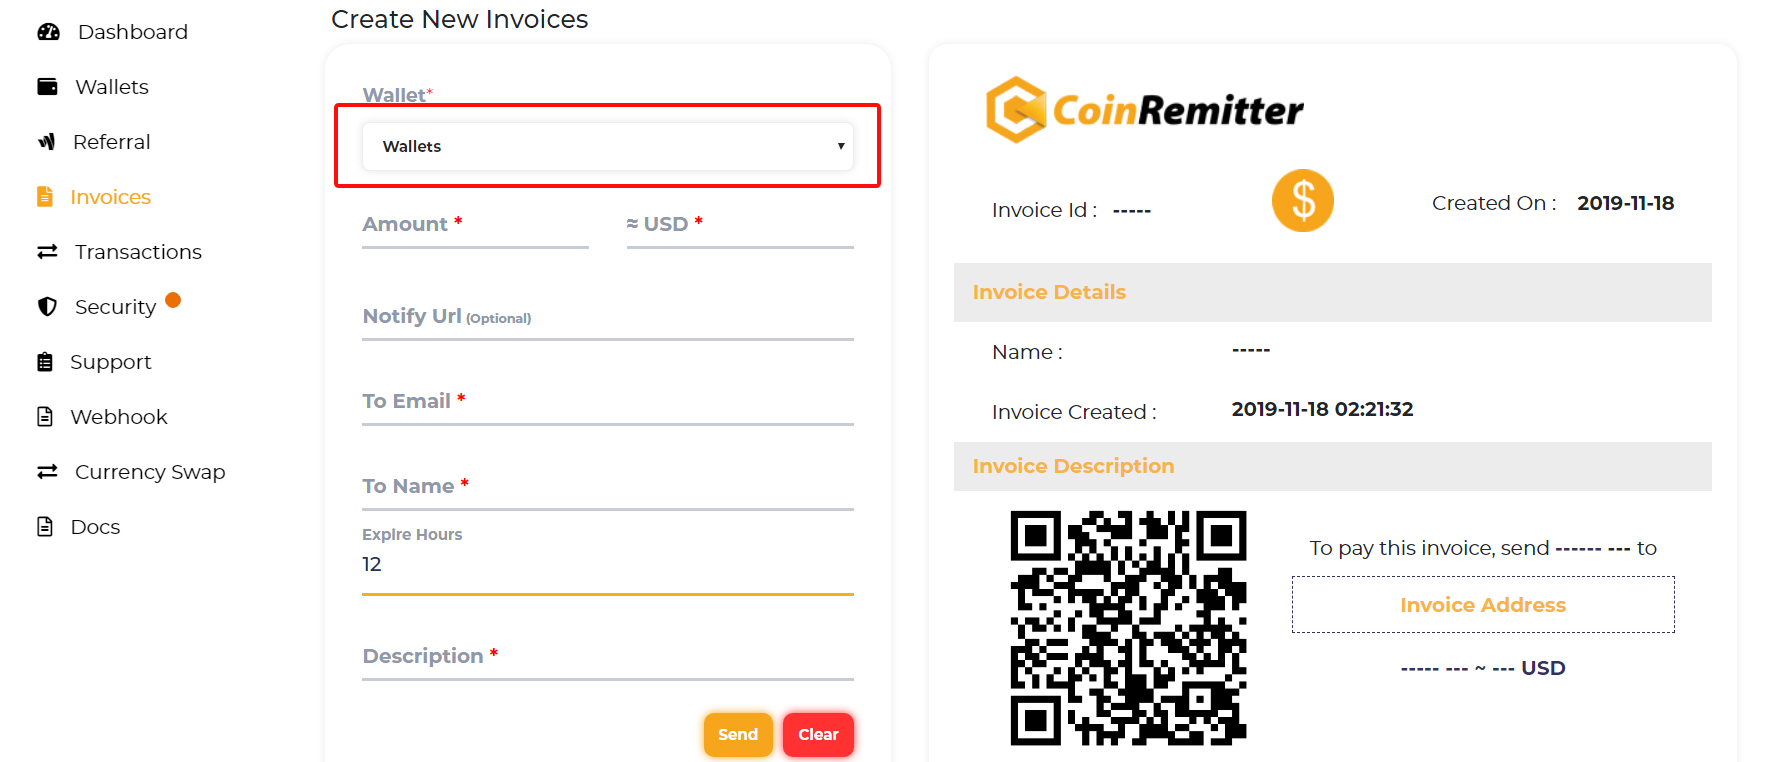
6) Click on a wallet where you can see a certain of the coin’s wallet, and select the wallet as you have one.

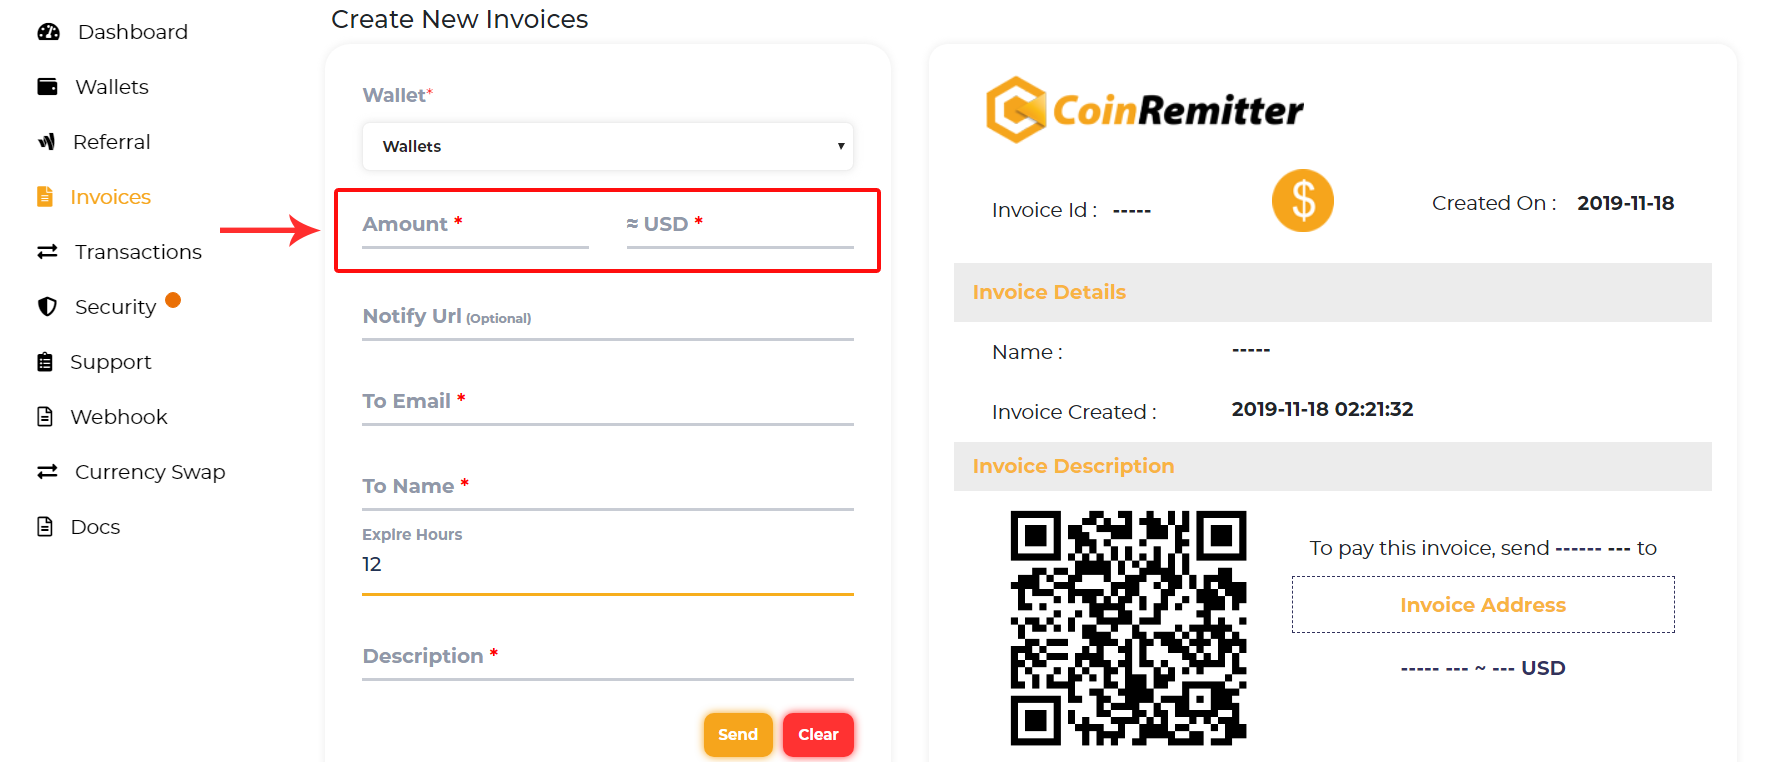
7) In the amount, the box fills the appropriate amount which you want to get from the buyer. However, in the second box USD, you will see the amount in dollars.

8) Notify URL is an optional box it’s not mandatory so you can neglect it anyway.
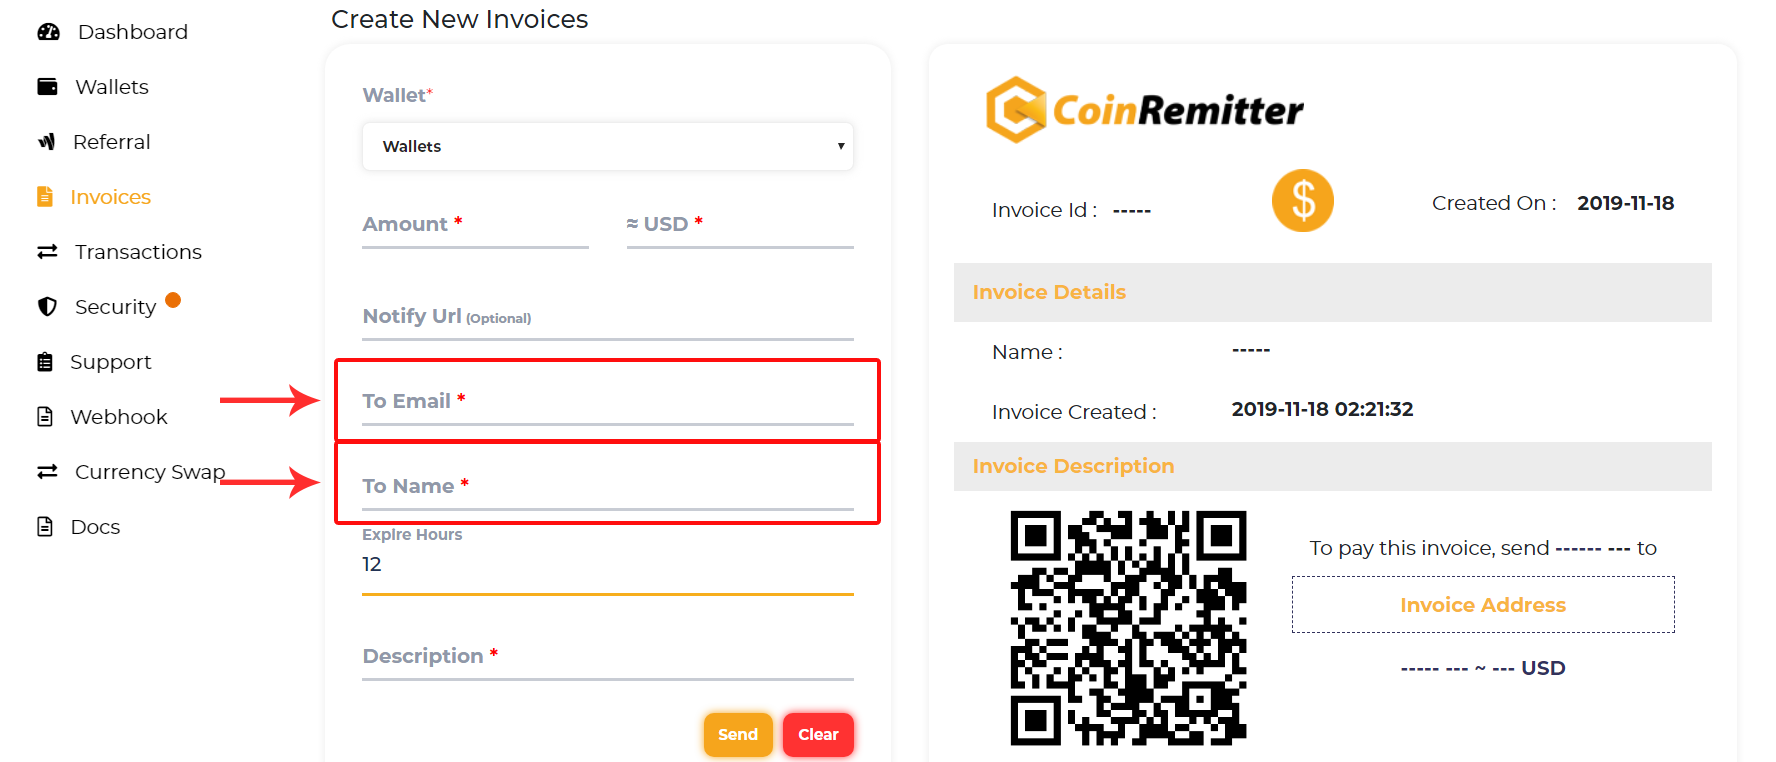
9) Sending an invoice must demand the address of the user to whom you want to send this Invoice. Moreover, in the upcoming box fill To Email and To Name where you have to be careful while filling in receivers’ addresses.

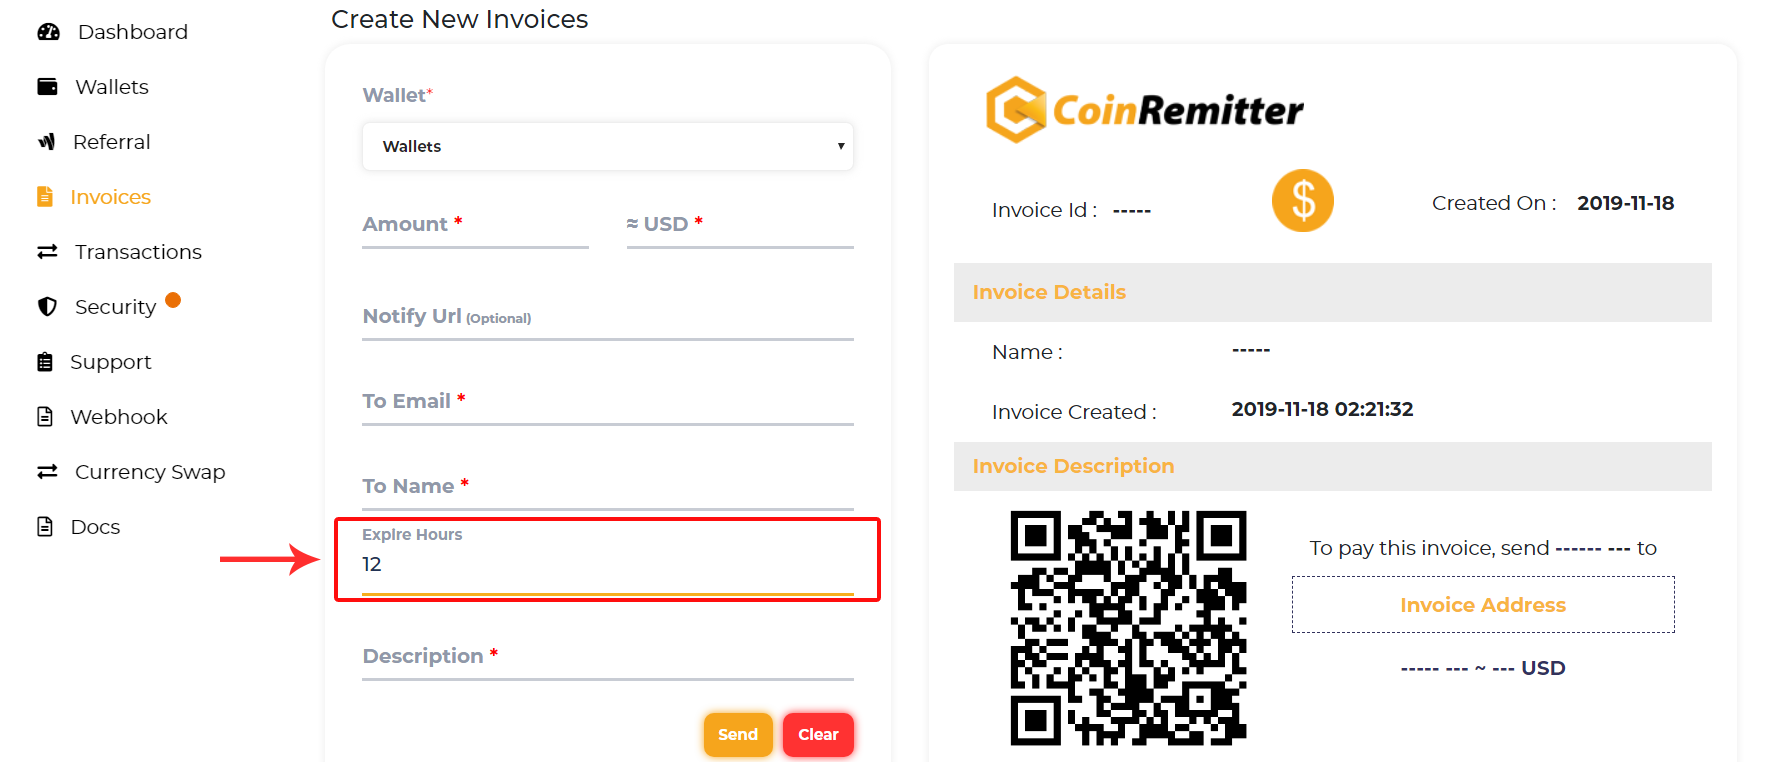
10) In the next box fill-up, the expiration hours. This means if you write 12 hours In the box then, after 12 hours this Invoice will be expired. Moreover, the buyer also will not be able to send payment through this Invoice so be careful with both vendors and merchants.

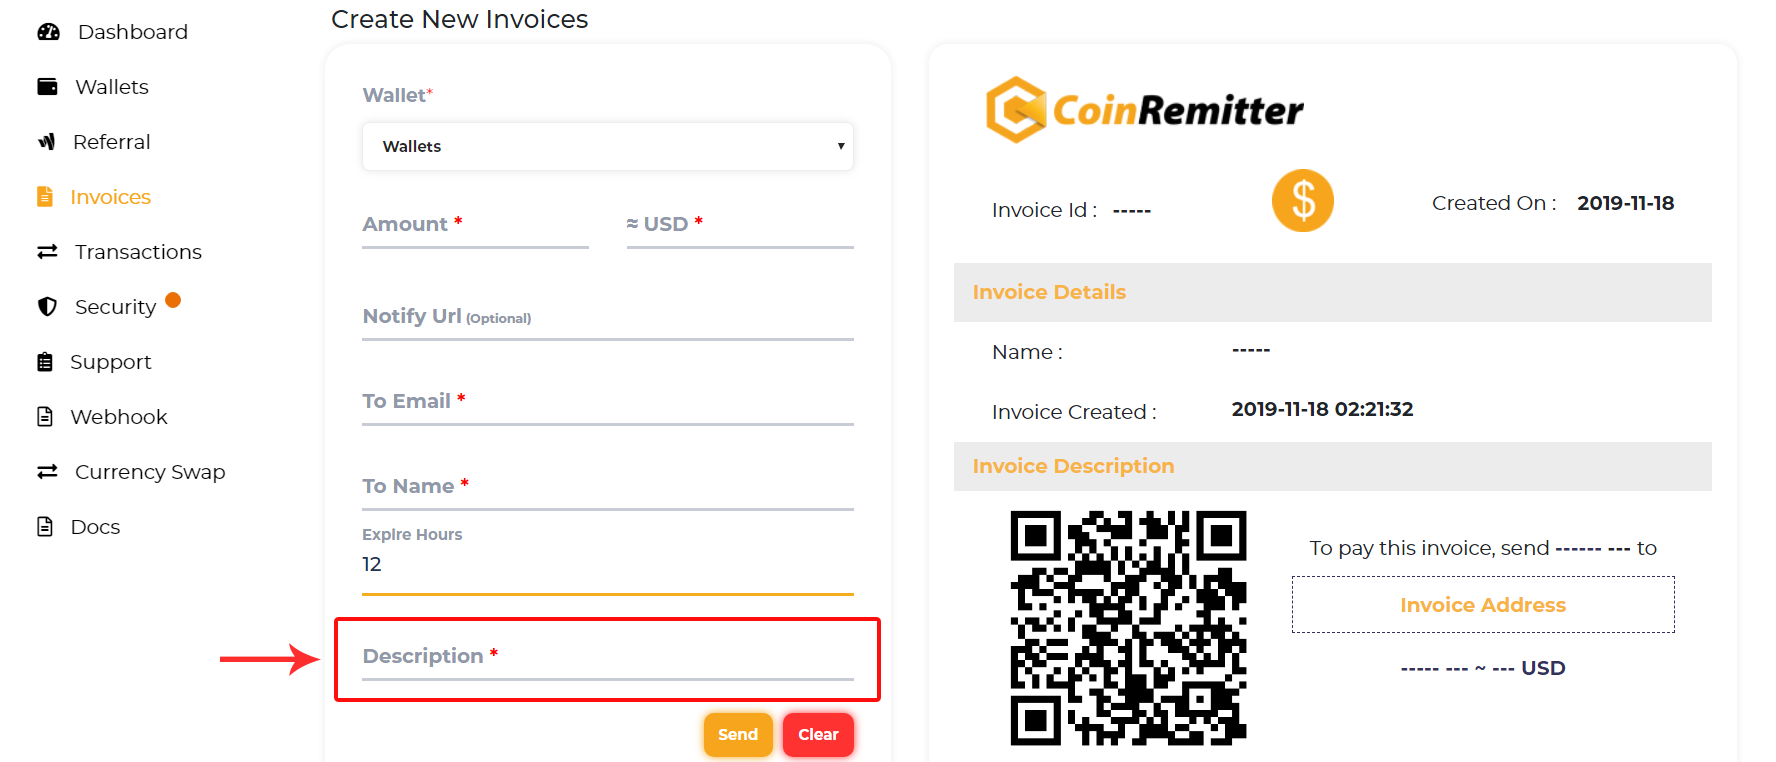
11) In the last box called description, you can write some notes or some of your business dealings that you want to share with the receiver. Although, you can write anything which suits you more.

12) So, after filling in all the details your invoice will look like this.
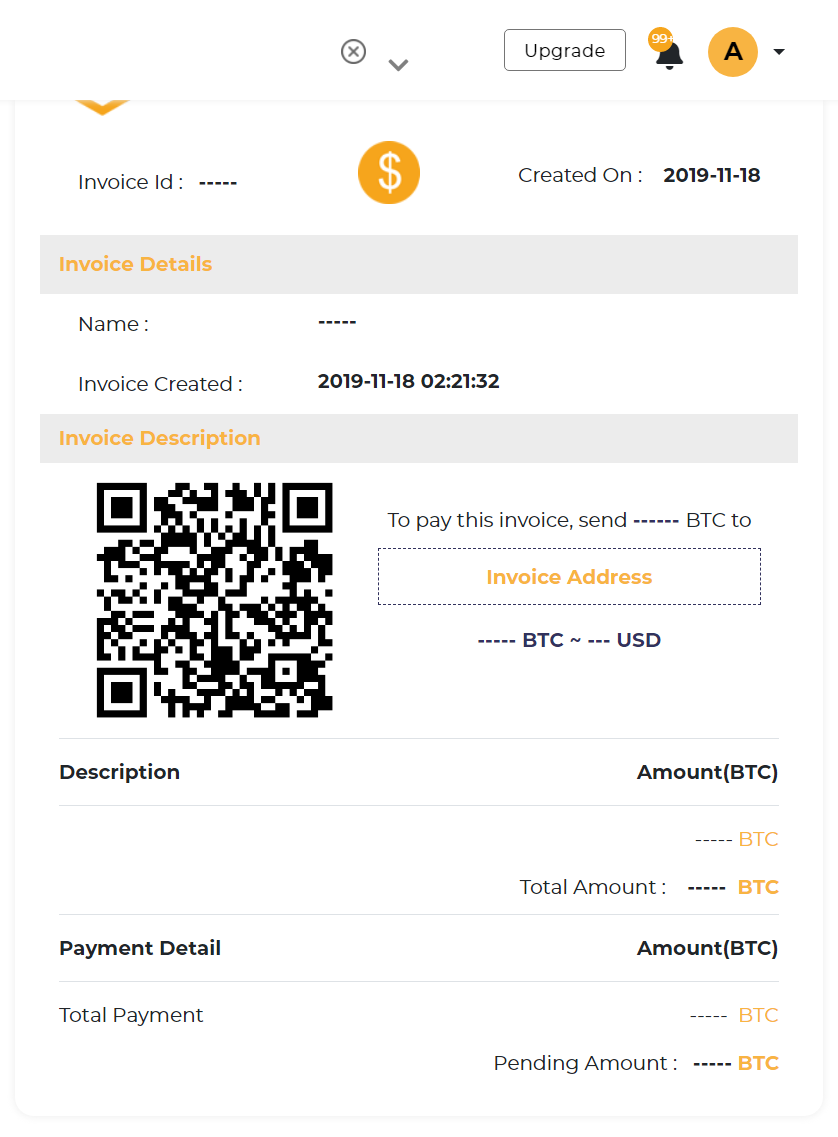

13) You should check all your filled-up details several times before clicking on the send button.
14) After checking all the details click on the send button.

15) You have successfully sent your Invoice to your buyer. Now, wait until the vendor sent payment to your wallet through your Invoice.